In January I posted pictures of my gutted home office. Remodeling always take a while, in particular when doing unusual things, but I’m close to being done. So it’s time for some pictures.
What unusual things, you say? Let me get to that in a minute and walk you through my new office:
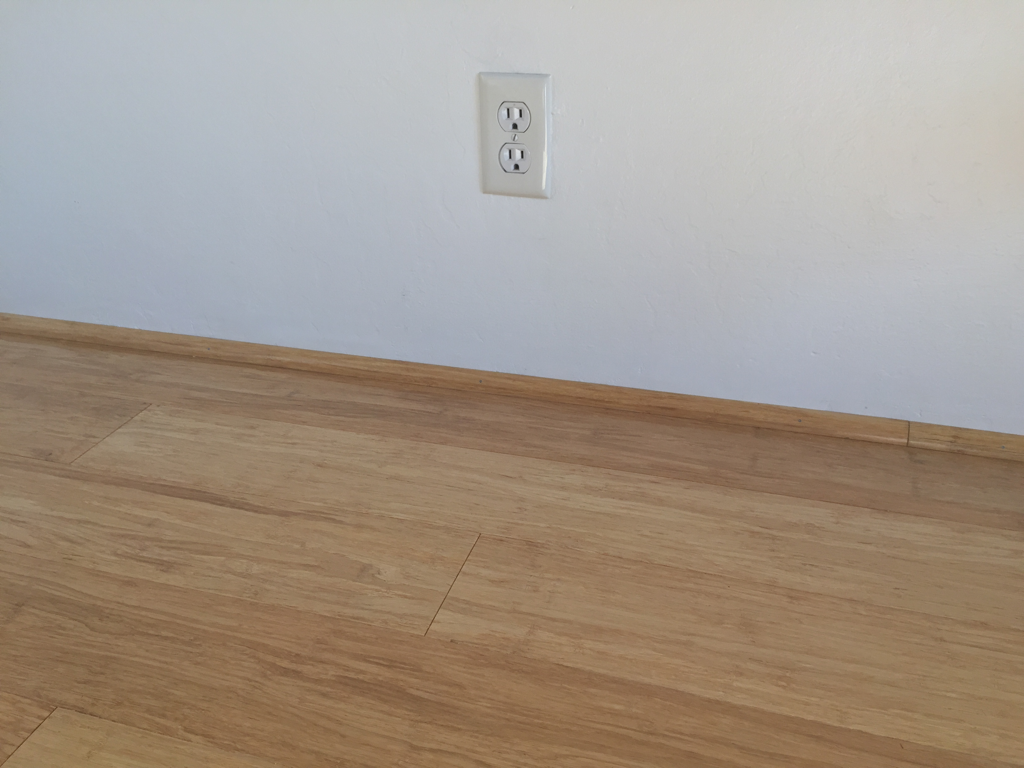 1. Bamboo floor. I used the same bamboo from Build Direct for our master bedroom a year ago. We have been very happy with it, and so we ordered more for my home office. This is a “floating” installation of “click-lock” planks, i.e. the bamboo planks snap into each other, and just rest on the floor. They are not nailed or glued or such. Indeed, it is unnecessary. Only the trim at the wall is nailed down. If you ever had to remove glued-on flooring, you know how huge this is.
The installation turned out to be quite simple. You need a miter saw, and the ability to measure to a precision of 1/4in. Not exactly rocket science. It’s great material to work with. The trim is a bit harder: turns out the material is so hard, the heads of the finishing nails won’t go into the material unless you widen the drilled hole to fit the head. I would have liked to own a drill press.
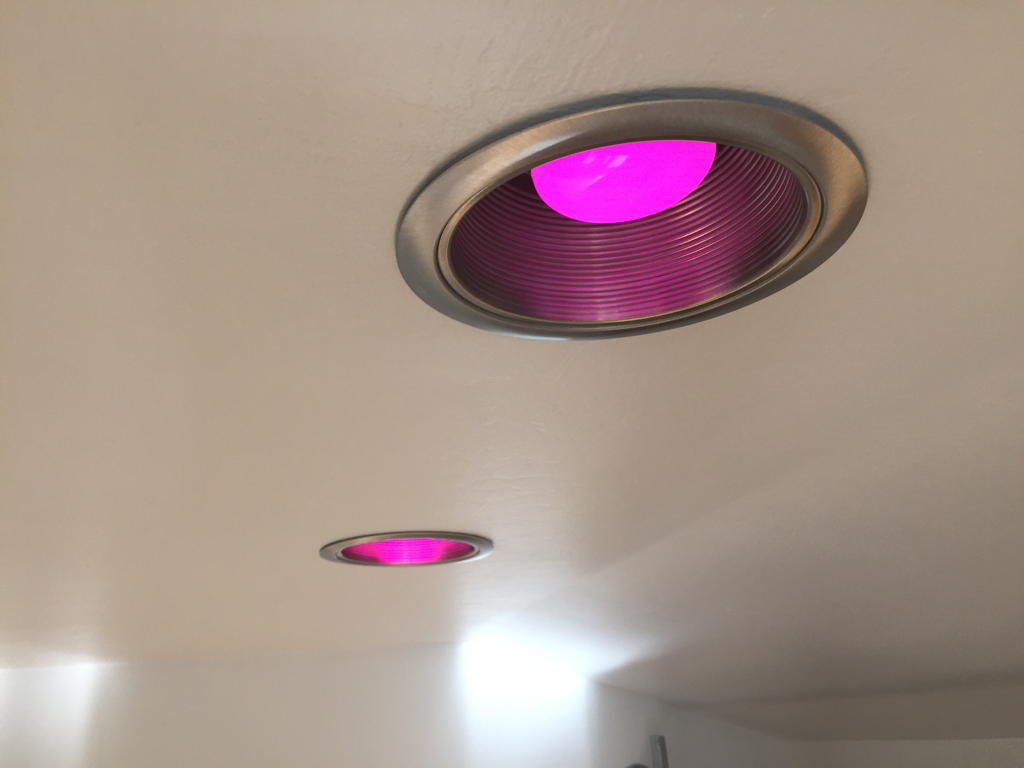 2. Programmable lights. You may be familiar with Philips’ Hue product, which is cute, but pricey. (And who knows whether you ever use all of those colors ..) While they have an API, it’s also fairly closed, and around the time I decided what to buy, they had just decided to kick off competing products from their ecosystem (a decision since reverted). So instead, I bought from LimitlessLED in New Zealand instead. Four white-plus-all-color bulbs, a WiFi base station and a remote control cost me just over $100. Also controllable from a smart phone all. It works great.
 3. Home servers moved into the closet. I have too many computers, and worse, they (and their cabling!) are in the way. So I decided to move the home servers into the closet and out of the way on top of the filing cabinet. This required relocating the Comcast cable, and the in-house Ethernet, which over so many years, had adventerously been routed over the roof of the house. This time we did it right, and rerouted from the crawl space to the attic by way of the insides of some walls. (An endoscopic camera taped to the tip of a fish tape was extremely helpful in the process.)
The little boxes (like Cable modem, Ethernet switch, Apple Time Capsule, LimitlessLED base station, etc.) moved right below the servers. At some point I’ll replace this stack of things with something sturdier; this setup was only intended to be good enough to figure out whether the arrangement would actually work.
The closet is still missing some kind of blind, to hide the servers and the shelf with office supplies etc.
But, the servers do produce a bunch of heat, and unfortunately, my home office is the warmest room in the house on the south west. So, on to the next point:
 4. Ceiling fan for the closet. I cut a hole in the ceiling and put in a quiet, lightless bathroom fan. The fan’s exhaust goes into the attic, and out one of the attic vents. Installing this wasn’t so much fun. I don’t like being sqeezed like a sardine between dusty insulation, bulky forced-air ducts and nails sticking out from the ceiling.
But when to run the ceiling fan? I don’t want to run it when I don’t need it (the servers help with heating the room in the winter) and I don’t want to forget about running it either. So:
 5. A Raspberry Pi and some thermometers to the rescue. I’ve been running a first-generation Raspberry Pi as my internet-enabled pool controller for more than three years now, and it has been working extremely well. So this is the second “production” Raspberry Pi in the house that runs 24×7. This one has been installed in the attic. It reads temperatures from a number of 1-wire thermometers punched through the ceiling in strategic locations in the closet (you see one sticking out in the picture above next to the fan), the office, the hallway etc., and drives a solid-state relay which in turn switches the closet ceiling fan. Since I installed the first Raspberry Pi, fortunately, the world has advanced and I can now buy nice relay boards that work directly with the Pi. Less soldering, yay!
Of course, both of those Raspberry Pi’s run UBOS, as I have no time whatsoever to spend on system administration for them. The 1-wire protocol is a really brilliant invention: if you remember the Java Ring in 1998, it was based on the same thing. Basically one wire, plus ground (no power needed), and any number of peripherals over something as basic as sprinkler wire. Linux has support for it in the kernel, the temperature shows up by reading a file in the file system below /sys/bus/w1.
As of now, the hardware is working fine, but the software consists of me ssh’in into the attic Pi, and manually reading temperatures and switching the relay. That, of course, won’t do. I have my eyes on running OpenHAB, or alternatively, cook something up myself, perhaps based on Phil Windley‘s pico architecture. This is the next step, now that the hardware is in place.
6. And finally, my new desks. As you may know if you read my blog before, I have had “some” difficulties with sitting in recent times, while standing is much better. So I wanted to get a standing desk.
But that is easier said than done: There are a number of standing desk products you can buy, all of which are fairly expensive, and unless you have experience with standing desks, it is entirely unclear whether they would actually work for you. For example, how tall should the desk be? This is much more critical than in case of a sit-down desk, because you stand at whatever height you do; you cannot simply slouch in your chair, or adjust the height of your chair as you can when sitting. You can buy the ones with built-in motors and remote control, which further adds to price, complications and more cables etc. So, no.
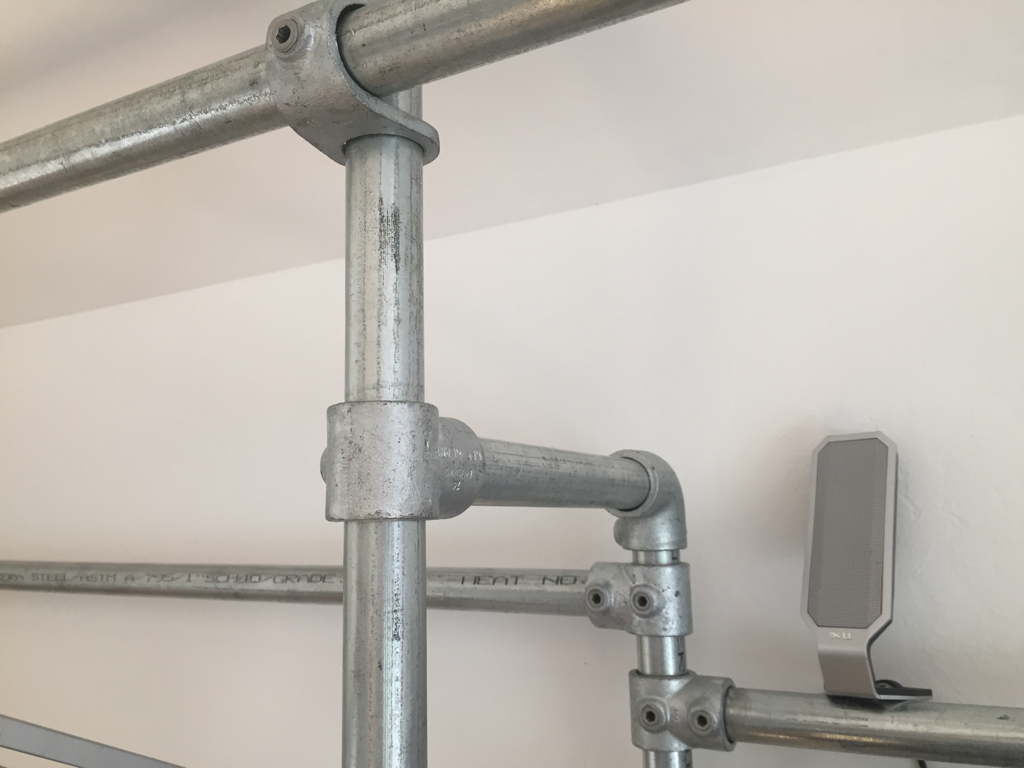 So I came across Simplified Building and their lego-like system, called Kee Klamps, to build really sturdy things with off-the-shelf, hardware-store galvanized steel pipes. Which was the perfect match for me, because I could try out different things, and if I don’t like them, I unscrew things and re-assemble them differently. Brilliant. In a show of unusual internet-age marketing savvy for a rather old firm, a large part of their website is dedicated to their customer’s contraptions from which I took some inspiration.
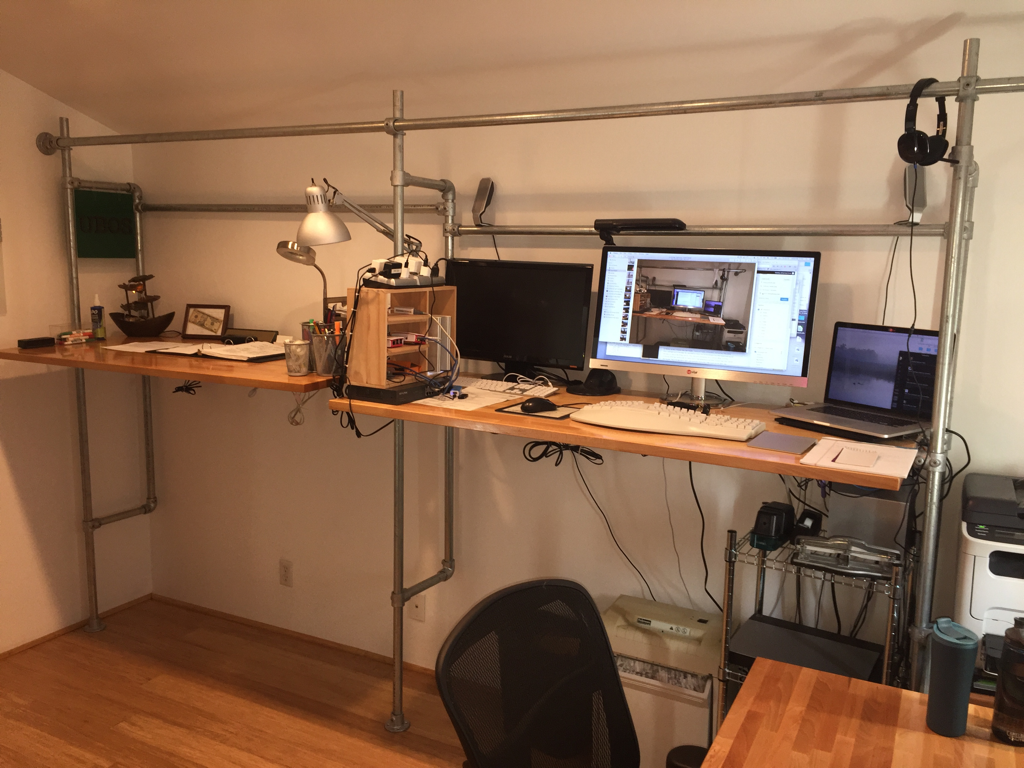 So now I have two height-variable standing desks (one for computer work, one for desk work), and one for sitting down. The sit-down desk even svivels around one side, which allows me to hide it under one of the standing desks to get it it out of the way. For now, I almost exclusively use the standing desks; I have really gotten used to standing, and there are advantages: for example, victory dances are much simpler :-)
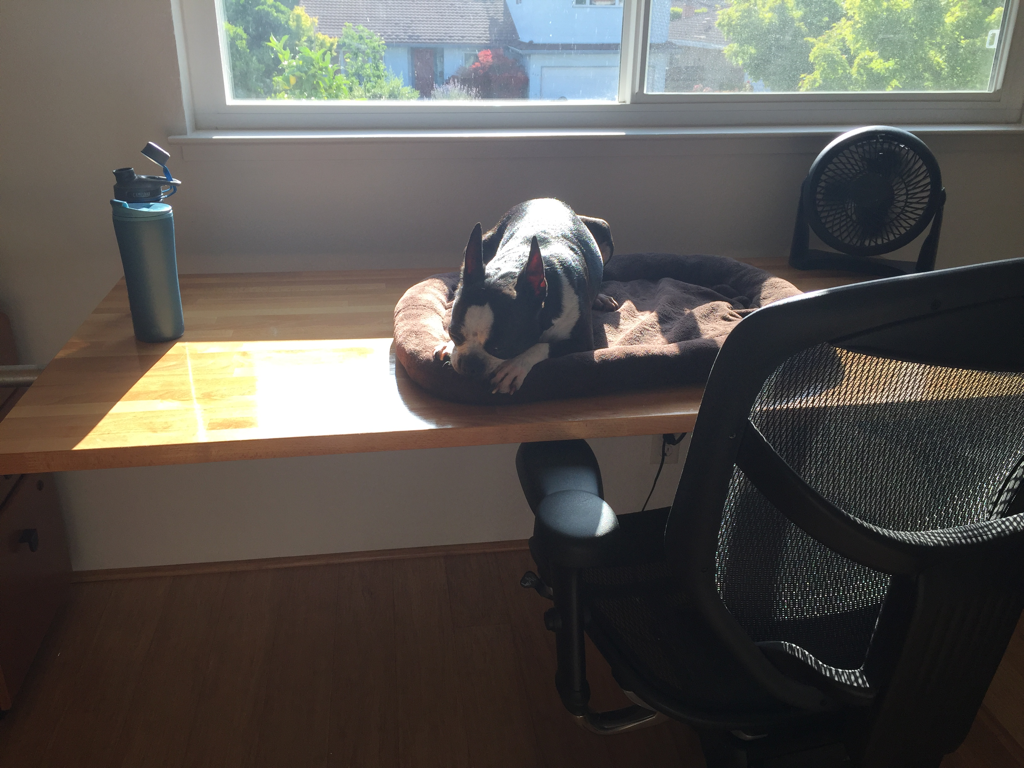 The sitting desk has largely been taken over by Diamond, who likes to lie in the sun, and occasionally look out the window. She has figured out how to climb the chair to the top of the desk.
The steel contraption is my design, built from about $200 worth of Keep Klamps, ordered by mail, and about six 21-ft 1-in galvanized steel pipe locally delivered by a wholesale plumbing supply shop (probably another $150 incl. delivery). These pipes are really heavy, so shipping them across the country is cost prohibitive. (On the other hand, the pipes I ended up were apparently produced in South Africa, Vietnam, and Oman. Go figure.)
Cutting the pipes is straighforward; any handsaw (and some sweat) will do. I used a Bosch reciprocating saw. Assembling is just a matter of turning a hex bolt. The system is not a precision system; think construction scaffolding rather than precise milling. However, when assembled, it is very sturdy. My contraption swings a lot less than any other desk I’ve had, never mind a taller standing desk.
Ikea sells just the right table tops, which I treated with this varnish based on the advice of the family professional. I attached the table tops with some wood screws from holes drilled into the pipes. This was a little tricky; the winning solution was to drill through the pipe at the diameter appropriate for the screw, and then widening the entrance hole so a screwdriver would fit. That way, I can use a short screw instead of having to go all the way through the pipe with it.
The table tops also have strips with lots of power outlets, and a desktop gigabit switch attached to their underside. One also has a USB hub. This way, most of my cable salad has disappeared out of sight. The cable salad that’s still visible is my little rack of Raspberry Pi’s and other devices that you can see between the two standing desks: this rack contains the ARM-based build devices when I build UBOS on ARM.
It’s been a bit of work, but I’m happy with how it turned out.
Oh, and another thing is missing: I’m not creating any interesting light show effects yet. I’m thinking of things like “switch the lights on when it’s dark and somebody opens the door”, or, perhaps more interestingly, “change the color of the lights to match the color of the sunset outside”. Plus something like “insane disco when YMCA is playing” or something like that :-)
I’ll post more once I figured out the software for the Raspberry Pi fan controller and the light show.